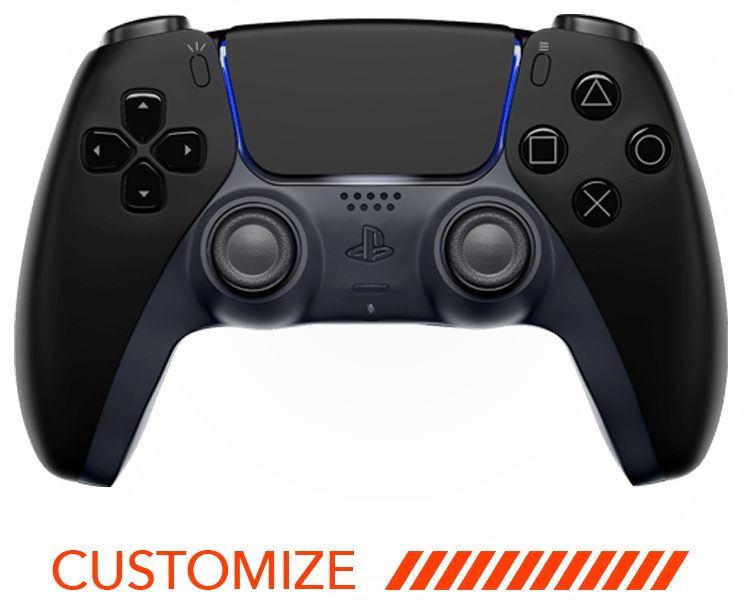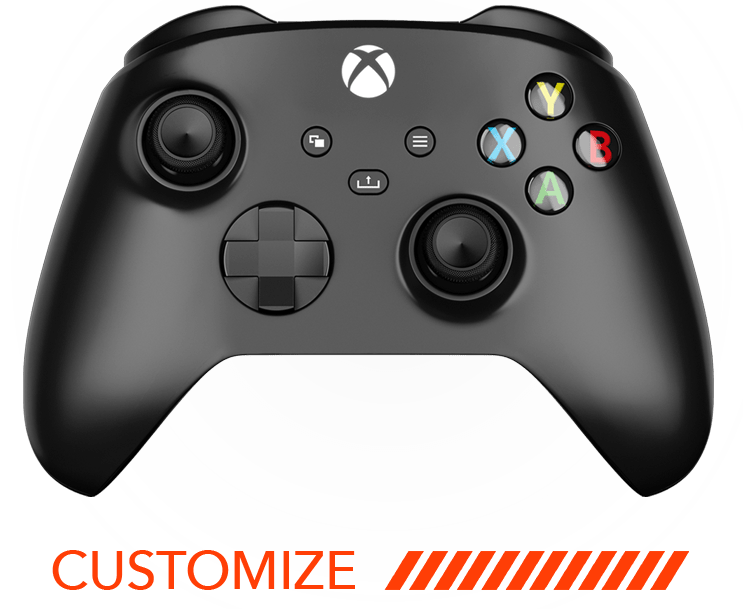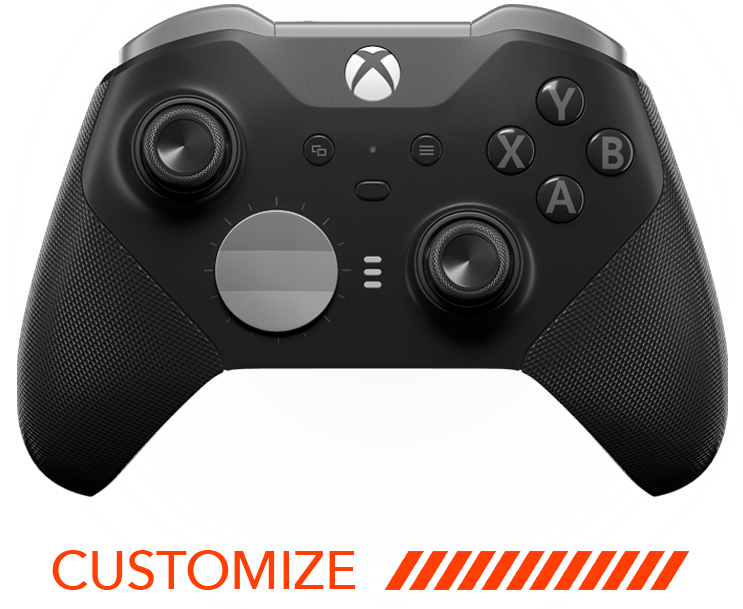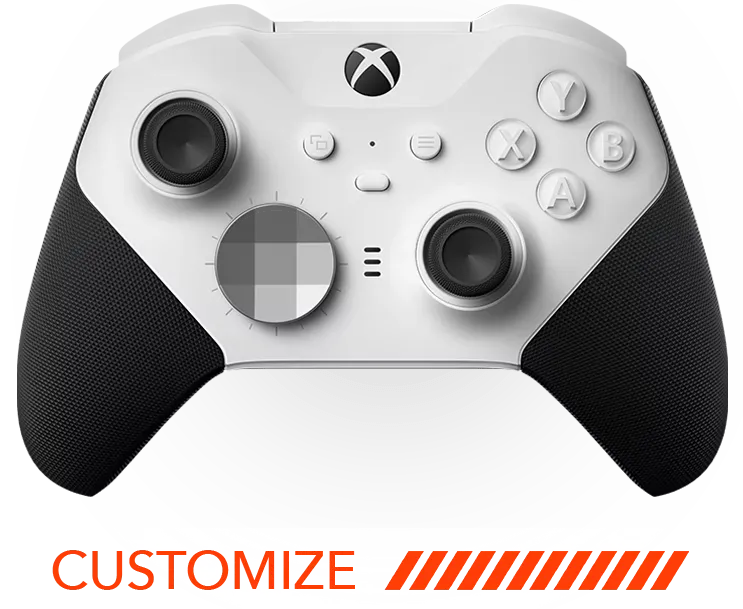
Understanding 'P1, P2, P3, P4 Button Mods'
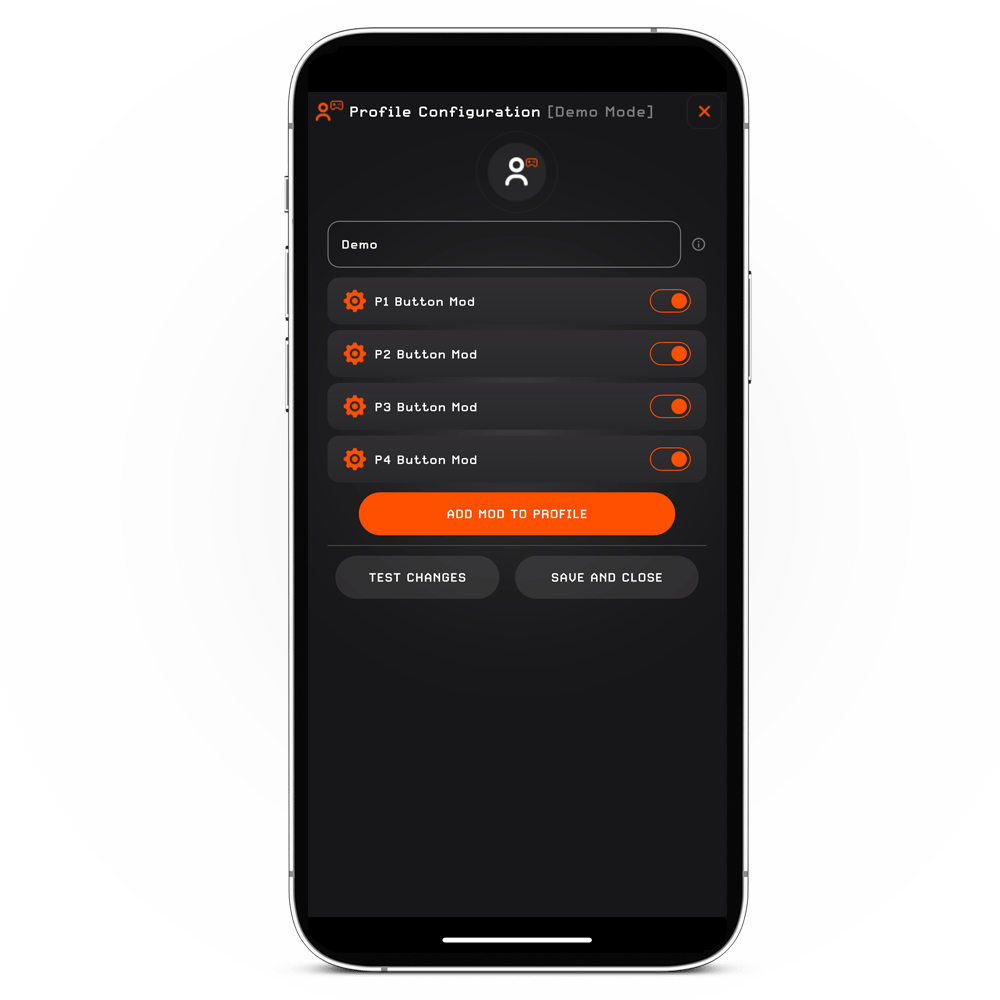
When remapping paddles or buttons are added to the controller, the P Button Mods become active within the MZ Titan App, providing you with full control over the functionality of each paddle or button.
Within the MZ Titan App, you will find 4 "P Button Mods" - P1, P2, P3, and P4. When your controller is equipped with 2 remapping paddles or 2 remapping buttons, P1 and P2 Button Mods will be accessible, while P3 and P4 Button Mods will be inactive and displayed as grayed out. Conversely, if the controller features 4 remapping paddles or 4 remapping buttons, all 4 "P Button Mods" will be activated in the MZ Titan App.
When purchasing an Xbox Elite Series 2 controller and choosing to manage the back paddles through the MZ Titan App, please note that you will no longer have the option to configure your paddles via the Xbox Accessories App. Instead, you will exclusively utilize the MZ Titan App for paddle management.
HOW TO OPERATE PADDLES
STEP 1.
CONNECT THE CONTROLLER TO MZ TITAN APP
Refer to the instructions provided on this page to establish the connection between your controller and the MZ Titan App. After successfully connecting the controller, proceed to STEP 2.
STEP 2.
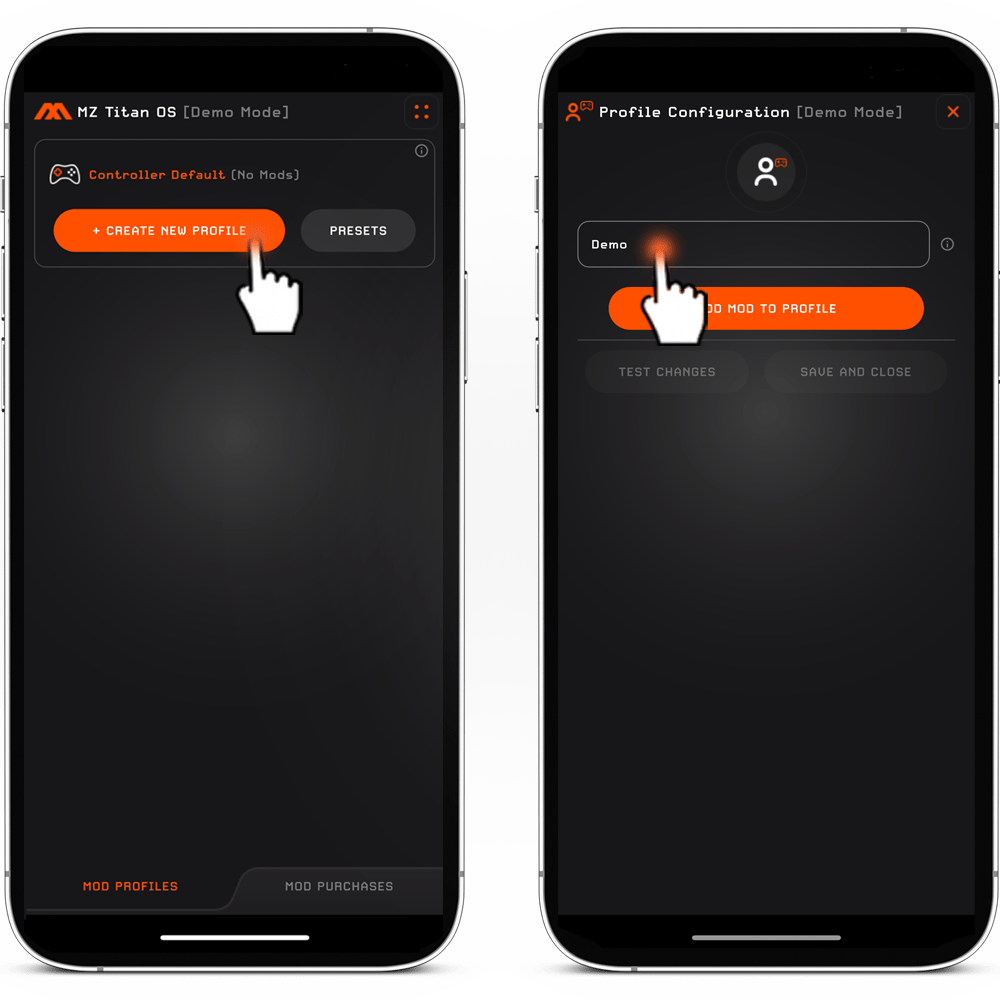
CREATE A PROFILE.
1. Tap the "CREATE NEW PROFILE" button*. If you encounter any difficulties while creating or managing the profile, you can find detailed instructions on profile creation and troubleshooting steps on this page.
2. Name the new profile.
* You can create and add as many profiles as needed.
STEP 3.
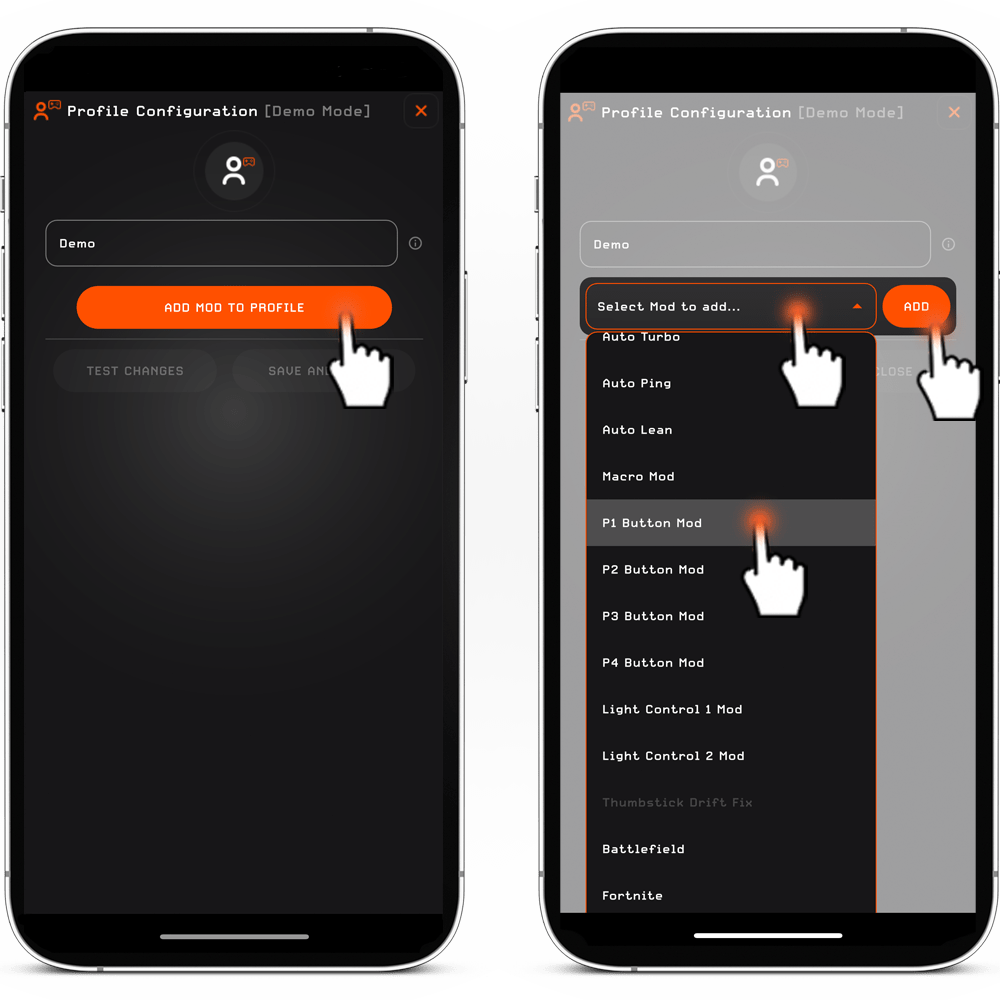
ADD P1/P2/P3/P4 TO THE PROFILE.
1. While in the profile, tap the "ADD MOD TO PROFILE" button. This will reveal a drop-down menu labeled 'Select Mod to add.'
2. Click on the 'Select Mod to add' button, choose either P1, P2, P3, or P4 Button Mod, and then tap the 'ADD' button.
3. To add another paddle button (P1, P2, P3, or P4) to the profile, follow the above steps once more.
STEP 4.
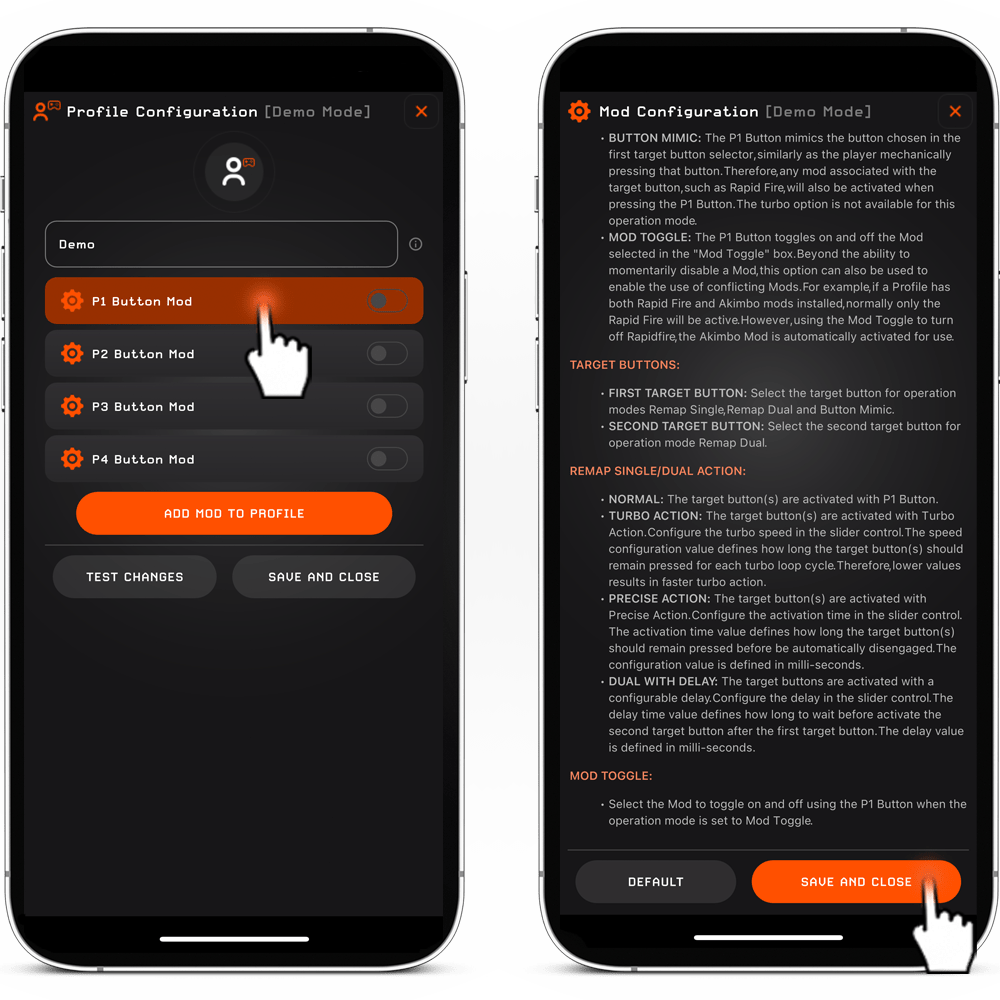
CONFIGURE PADDLE SETTINGS.
1. After adding all the desired "P Button Mods" to the profile, tap on the specific P Button Mod within the profile to configure its settings.
2. After configuring the paddle settings, press the "SAVE AND CLOSE" button.
3. The final step is to choose the profile you wish to use by tapping on it.
YOU CAN NOW PUT YOUR PHONE/DEVICE AWAY, AND THERE IS NO NEED TO KEEP THE MZ TITAN APP OPEN TO USE THE PADDLES.
GAME ON!
P1/P2/P3/P4 BUTTON MOD CONFIGURATION
You can configure each P button to replicate any of the face buttons, directional d-pad buttons, triggers, bumpers, or analog stick presses. Additionally, they can perform dual functions, mirroring button actions or (de)activating mods with a quick toggle. Each paddle offers 5 operation modes, starting with 'Disabled' as the default.
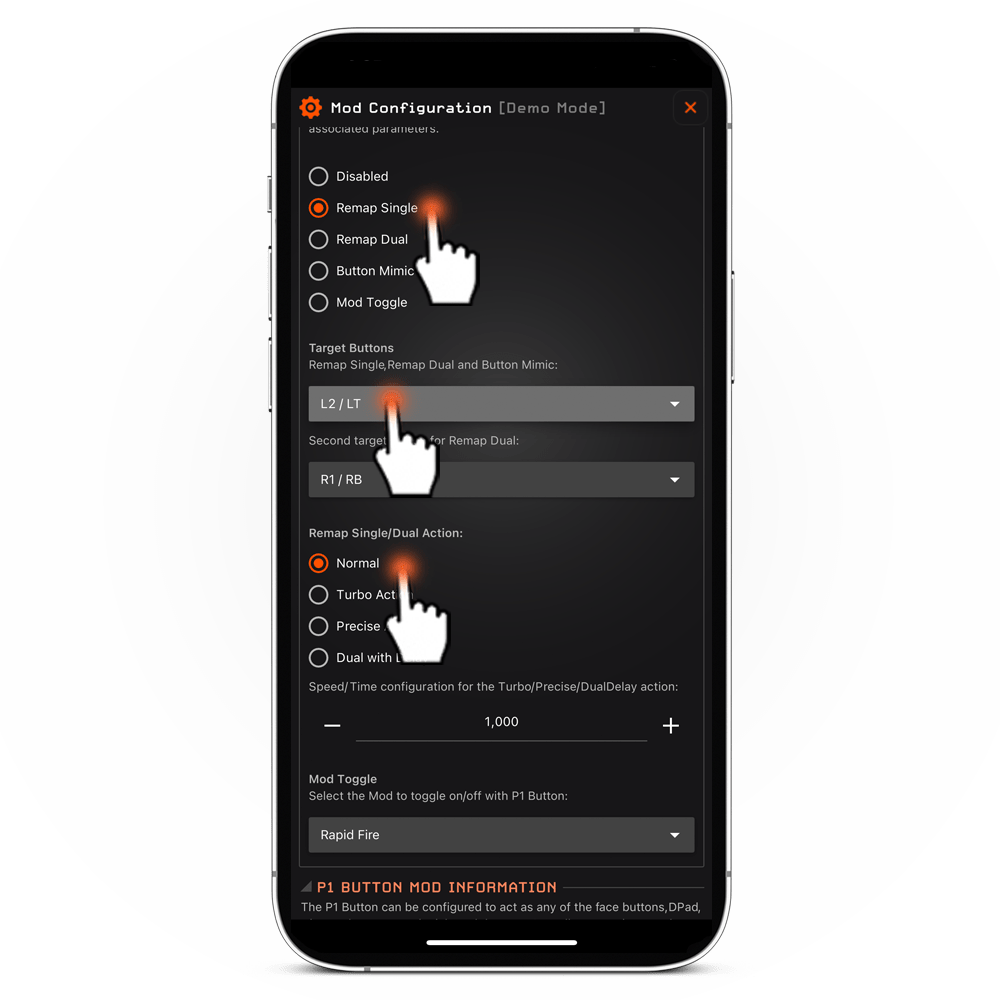
REMAP SINGLE
'Remap Single' is the next option to choose from after 'Disabled' operation mode and is considered the most common choice.
When you choose the 'REMAP SINGLE' operation mode, you'll be prompted to pick the 'First Target Button' from the dropdown menu (e.g. D-Pad Up). The P button will then assume the function of the selected button (e.g. D-Pad Up), offering optional STANDARD, TURBO, or PRECISE remap actions. By default, the remap action is configured as 'Standard'.
STANDARD REMAP ACTION. When the option is chosen, the target button is triggered by using the P Button.
TURBO REMAP ACTION. When the option is chosen, the target button is triggered by using the P Button with the turbo effect. You can adjust the turbo speed using the slider control. The speed configuration value determines how long the target button should stay pressed during each turbo loop cycle. Lower values result in faster turbo actions.
PRECISE REMAP ACTION. When the option is chosen, the target button is triggered with precision. You can configure the activation time using the slider control. The activation time value specifies how long the target button should remain pressed before automatically disengaging. This configuration value is defined in milliseconds.
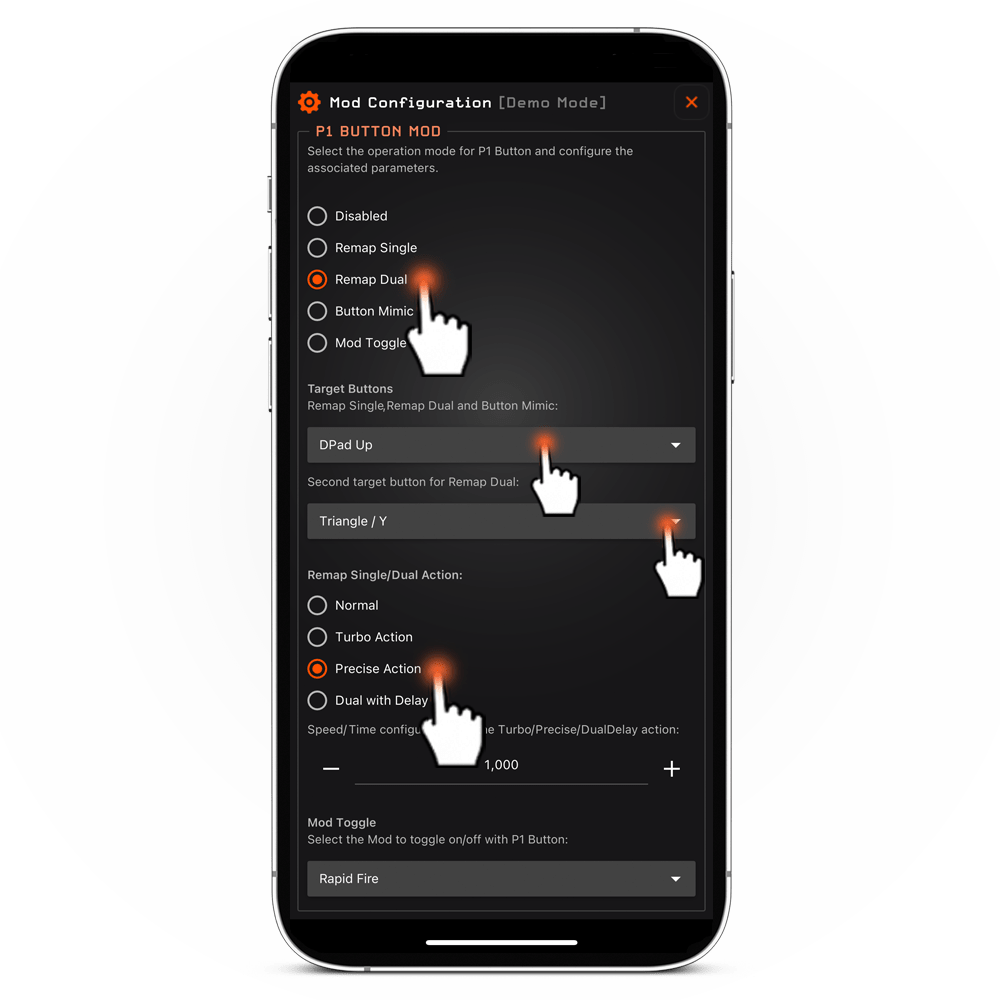
REMAP DUAL
When selecting the 'REMAP DUAL' operation mode, you'll be prompted to select both the 'First Target Button' and the 'Second Target Button' from their respective dropdown menus. Subsequently, the P button will simultaneously trigger the buttons chosen in the 'First Target Button' and 'Second Target Button' selectors. You also have the choice of STANDARD, TURBO, PRECISE, or DUAL WITH DELAY remap actions.
STANDARD REMAP ACTION. When the option is chosen, both target buttons are simultaneously triggered by using the P Button.
TURBO REMAP ACTION. When the option is chosen, both target buttons are simultaneously triggered by using the P Button with the turbo effect. You can adjust the turbo speed using the slider control. The speed configuration value determines how long the target button should stay pressed during each turbo loop cycle. Lower values result in faster turbo actions.
PRECISE REMAP ACTION. When the option is chosen, both target buttons are simultaneously triggered by using the P Button with precision. You can configure the activation time using the slider control. The activation time value specifies how long the target buttons should remain pressed before automatically disengaging. This configuration value is defined in milliseconds.
DUAL WITH DELAY. When the option is chosen, both target buttons are activated by using the P Button with a configurable delay. Configure the delay using the slider control. The delay time value determines how long to wait before activating the second target button after the first target button. The delay value is defined in milliseconds.
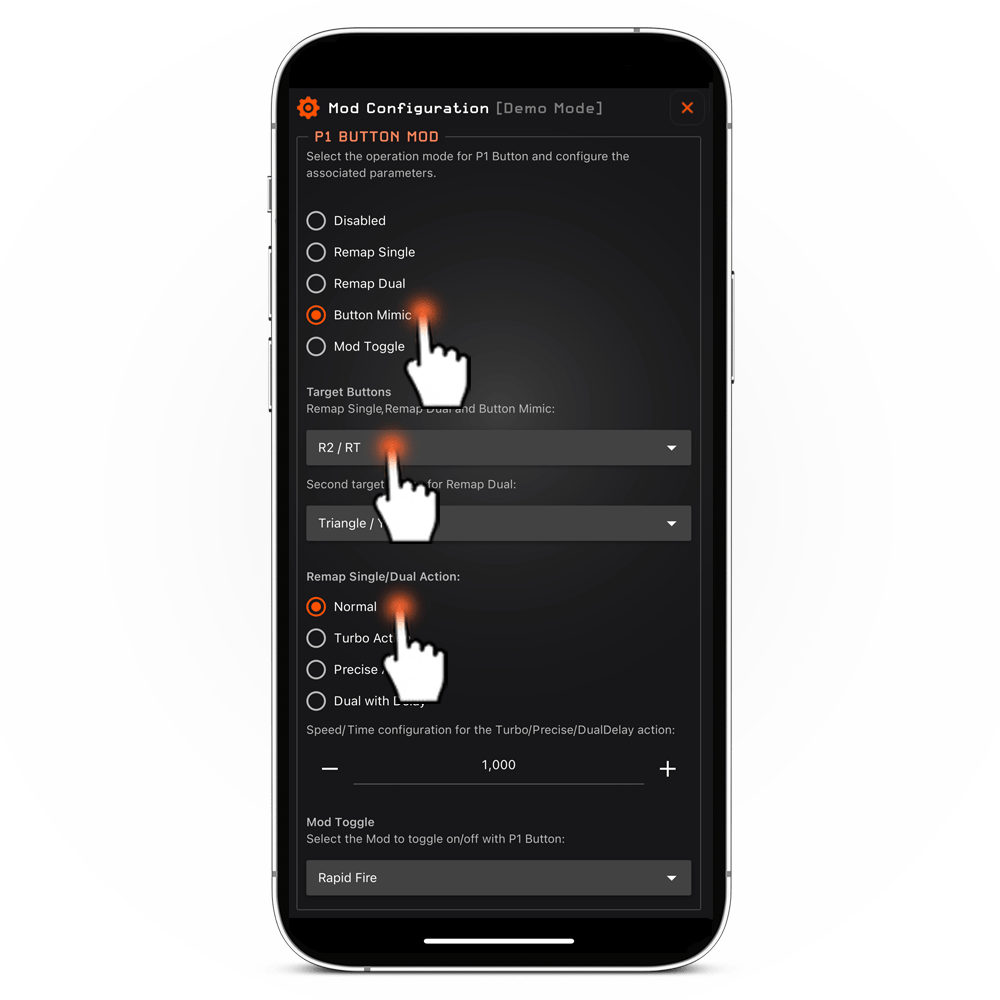
BUTTON MIMIC
When you opt for the 'BUTTON MIMIC' operation mode, you'll be prompted to pick the 'First Target Button' from the dropdown menu. The P button will emulate the function of the button selected in the first target button selector, simulating the player's manual press of that button. Consequently, any associated mod linked to the target button will also activate when the P button is pressed. For example, when utilizing Rapid Fire with the standard button layout, a player uses R2/RT for Rapid Fire. If you wish to remap the Rapid Fire action, you would select R2/RT in the first Target Button selector, causing the P button to perform the Rapid Fire function. This operation mode is especially suitable for remapping mods, including the Macro Mod option, which automates a sequence of up to 5 button presses.
Optional STANDARD and PRECISE remap actions are available.
STANDARD REMAP ACTION. When the option is chosen, the target button is triggered by using the P Button.
PRECISE REMAP ACTION. When the option is chosen, the target button is triggered by using the P Button. with precision. Configure the activation time using the slider control. The activation time value specifies how long the target button should remain pressed before automatically disengaging. This configuration value is defined in milliseconds.
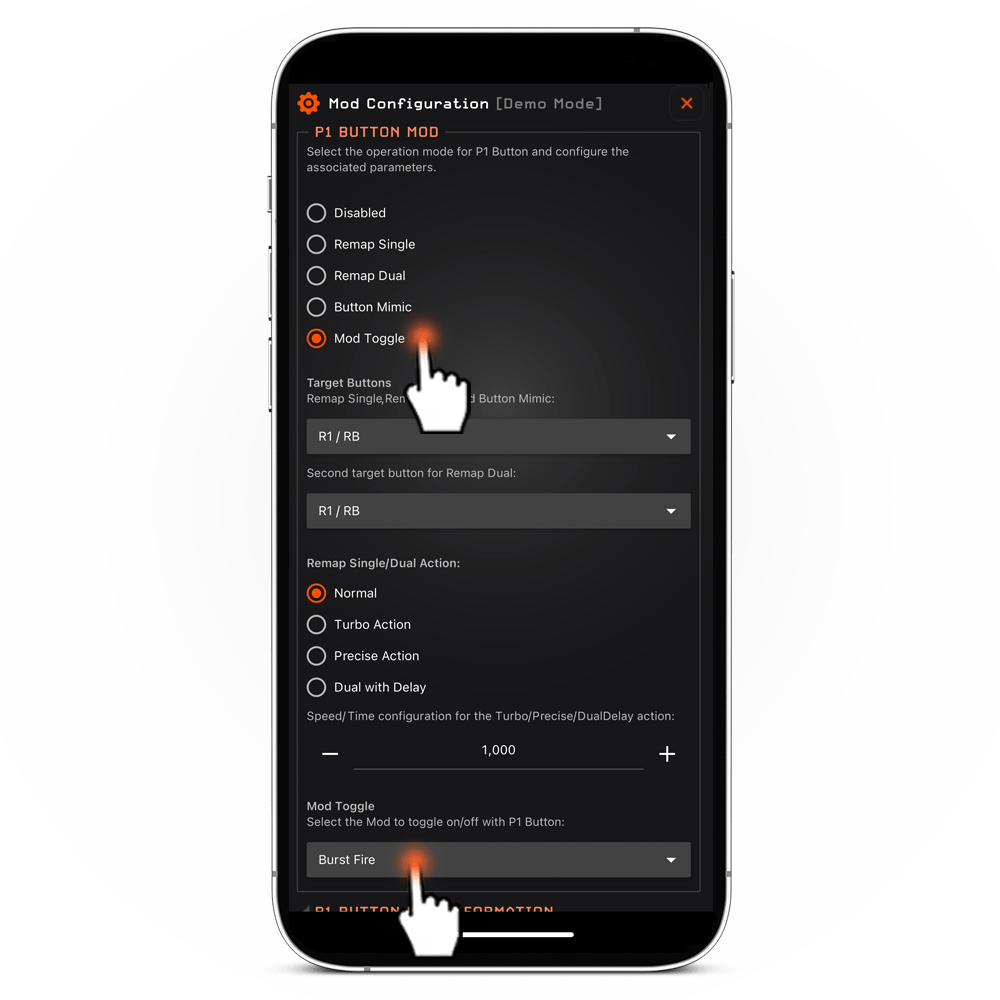
MOD TOGGLE
When you choose the 'MOD TOGGLE' operation mode, you'll be prompted to select one of the five available mods from the Mod Toggle drop-down menu. After selecting the desired mod, the P button serves as a switch to activate or deactivate the chosen mod in the 'Mod Toggle' box.
This feature not only enables instant activation or deactivation of the mod, but also allows you to enable the use of conflicting mods. For instance, if a profile includes both Rapid Fire and Akimbo mods, only Rapid Fire will be active since mods with similar functions cannot run simultaneously within the same profile. However, by utilizing the Mod Toggle to deactivate Rapid Fire, the Akimbo mod is automatically enabled for use.

