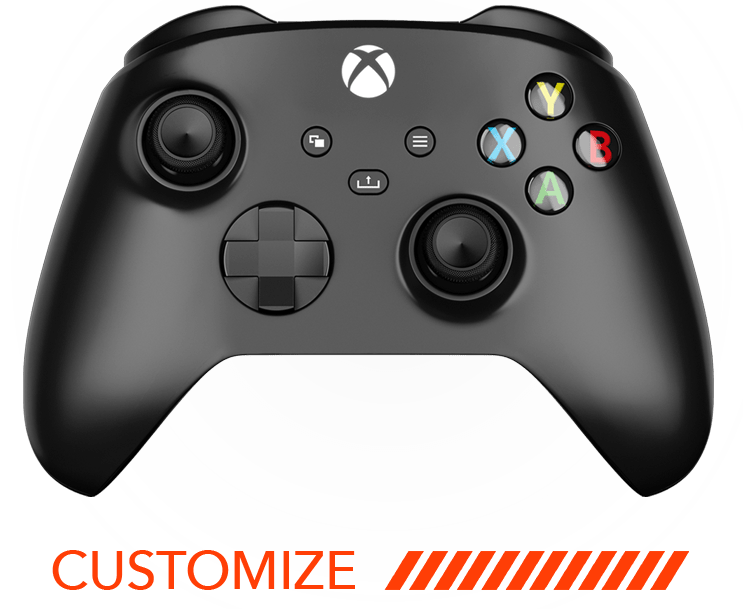
If you’ve ever thought about adding some personality to your Xbox controller with a skin, you might have questions about how easy it is to apply and remove them. In this FAQ, we’ll explore the basics of Xbox controller skins and guide you through the process.
What are Xbox Controller Skins?
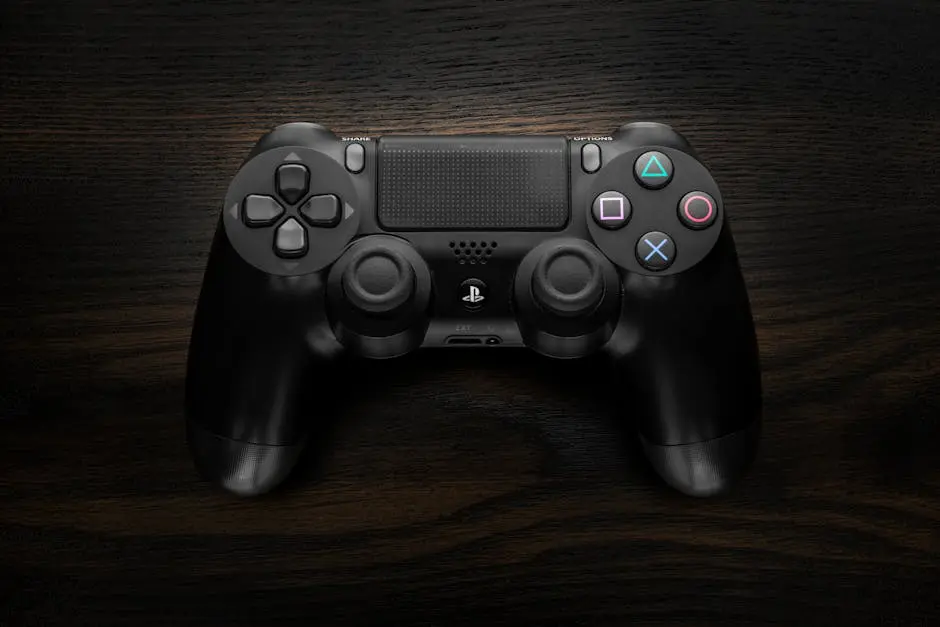
Xbox controller skins are thin, adhesive coverings that you can apply to the surface of your controller to change its appearance and protect it from scratches and wear. They are popular among gamers because they offer an easy way to express your unique style and preferences without the need for permanent alterations.
These skins are often made from durable vinyl materials that can withstand the rigors of regular use. With a vast array of designs and colors, Xbox controller skins allow gamers to make their controllers truly their own.
Materials Used in Xbox Controller Skins
The majority of Xbox controller skins are made from premium 3M vinyl, known for its flexibility, durability, and ease of application. This material ensures that the skin can be applied smoothly without bubbles and removed without leaving behind sticky residue. It’s the same material used in professional-grade vehicle wraps, so you can trust its quality and performance.
The vinyl is often coated with a scratch-resistant laminate, providing an extra layer of protection for your controller. This protective layer not only enhances the skin’s longevity but also ensures that the vibrant patterns remain intact even after long gaming sessions or exposure to elements.
Step-by-Step Guide to Applying Xbox Controller Skins
Applying an Xbox controller skin is an easy process if you follow these steps. First, clean your controller thoroughly to remove any dust or oils that might prevent the skin from adhering properly. Next, peel off the skin from its backing and carefully align it with the controller. Press down firmly, smoothing out any bubbles as you go.
For more precise application, you might want to check out guides like the dbrand Xbox Controller Skin Application which provides useful visual assistance in applying skins perfectly.
Tips for Easy Skin Removal
When it’s time to change or remove your Xbox controller skin, start by gently lifting one corner of the skin with your fingernail or a plastic card. Slowly peel back the skin, ensuring you do not pull too harshly to avoid tearing.
For stubborn areas, apply a bit of heat using a hairdryer to soften the adhesive, making it easier to lift without causing damage. This technique ensures the removal process leaves your controller clean and ready for a new design or its classic look.
Common Issues and Solutions
A common issue with applying skins is bubbling. To avoid this, it’s important to work slowly and methodically when applying the skin, making sure to press out any air pockets from the center towards the edges.
Peeling the skin too quickly during removal is another problem. Remember, patience is key—remove your skin slowly and use a heat source if needed to prevent any sticky residue. If any residue remains, a simple wipe with rubbing alcohol on a cloth should clean it right off.
Wrapping Up: Personalize Your Controller with Ease
By understanding how to correctly apply and remove Xbox controller skins, you can easily customize your gaming experience. With these simple steps, adding a personal touch to your controller is a hassle-free process.

